Quick answer: To prepare your roof for winter in Dorset, clear gutters and downpipes, replace cracked, slipped or missing tiles, check flashing and chimney pointing, remove moss, inspect the loftFive main types suit a conservatory roof conversion: polycarbonate, glass, solid tiled, solid insulated panel and hybrid. Solid roofs insulate best, glass gives the most light, and hybrids balance both. This guide explains each type’s heat, light, noise, lifespan, and price. for damp and ventilation problems, and trim overhanging branches. Do this between September and November, before the main autumn and winter storms arrive.
Why Winter Roof Maintenance in Dorset Matters
Dorset’s weather puts roofs under more stress than many other parts of England. Homes near the coast, from Weymouth and Poole to Swanage, Lyme Regis and Bridport, face salt-laden wind, driving rain and strong gusts. Inland areas around Dorchester, Blandford and Sherborne get heavy rain, frost and standing moisture.
A small fault found in autumn, such as one slipped tile or a blocked gutter, usually costs very little to fix. The same fault found in January, after water has soaked into the loft and ceiling, can lead to rotten timbers, damp walls, mould and a much larger repair bill.
Best time to prepare: September to November.
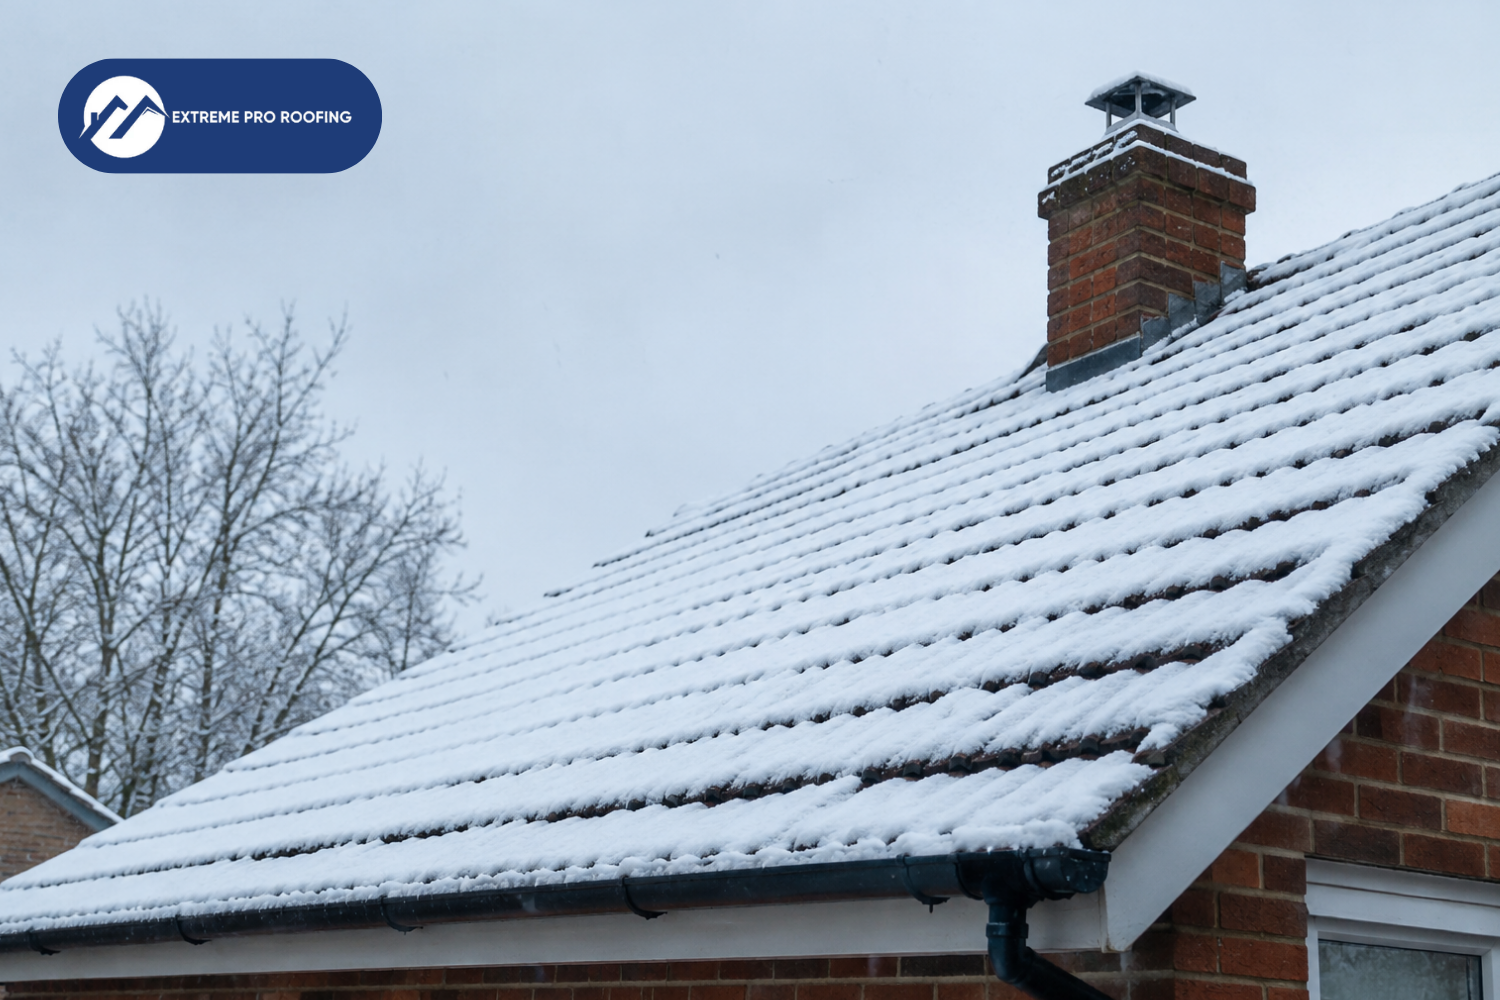
Winter Roof Checklist for Dorset Homes
Steps To Protect Your Roof in Winter
Step 1: Inspect Your Roof From the Ground
Start safely, with no ladder or climbing. Stand back from the house, or use binoculars, and look for:
- Slipped, cracked or missing tiles or slates
- Sagging or uneven roof lines
- Moss or algae patches
- Gaps around the chimney
- Damaged ridge tiles
- Gutters that sag, leak or overflow
Take photos. They are useful for comparing changes over time and for insurance claims.
Step 2: Clear Gutters and Downpipes
Autumn leaves are the main cause of blocked gutters. When gutters block, rainwater overflows onto walls, fascias and soffits. In freezing weather, trapped water turns to ice, which can crack gutters and damage fascia boards.
What to do:
- Remove leaves, moss and debris.
- Flush the gutters with water to check the flow.
- Make sure downpipes drain freely.
- Check joints and brackets for leaks or looseness.
Homes under trees should have their gutters checked again in late autumn and after major storms.
Step 3: Check and Repair Tiles and Slates
Wind, frost and age loosen roof coverings. Look for:
- Slipped tiles: tiles that have moved out of position
- Cracked or broken tiles: these let water in directly
- Missing tiles: visible gaps in the roof surface
- Flaking or crumbling slate or tile: a sign of age or frost damage
Replace damaged tiles before winter. In Dorset, many older properties use clay tiles, natural slate or stone slate, and these need a roofer experienced with traditional materials.
Step 4: Inspect Flashing
Flashing is the metal strip (usually lead) that seals the joins between your roof and chimneys, walls, dormers and roof windows. It is one of the most common leak points.
Signs of flashing problems:
- Lifted, cracked or split lead
- Gaps between flashing and brickwork
- Dried-out or missing sealant
- Water stains on ceilings near chimneys or walls
Flashing repairs should be done by a roofer. A poor repair can make the leak worse.
Step 5: Check the Chimney
Frost damages chimneys in winter. Water enters crumbling mortar, freezes, expands and breaks the brickwork apart.
Check for:
- Crumbling mortar joints (repointing needed)
- Cracked or loose chimney pots
- Damaged chimney cap or flaunching (the cement holding the pots)
- Cracked render
- Leaning or unstable brickwork
Step 6: Remove Moss and Algae
Moss soaks up water and keeps the roof damp. In freezing temperatures, trapped moisture expands and can lift tiles and break the surface. Moss also blocks gutters when it washes off.
Dorset’s mild, damp climate encourages moss growth, especially on north-facing roofs and shaded roofs under trees.
Important: Do not use a pressure washer on your roof. High pressure strips protective surface layers from tiles, forces water under them and can void a tile warranty. Professional moss removal uses gentle methods and a suitable treatment.
Step 7: Check Ridge and Hip Tiles
Ridge tiles run along the top of the roof, and hip tiles run along the sloping edges. They are bedded in mortar or fixed with dry-fix systems, and they take the full force of the wind.
Look for:
- Cracked or crumbling mortar
- Loose or shifted ridge tiles
- Gaps along the ridge line
In exposed coastal parts of Dorset, loose ridge tiles are a common storm casualty.
Step 8: Inspect Your Loft
The loft shows what the roof is doing. On a dry day, go up with a torch and look for:
- Damp patches or water stains on timbers or insulation
- Daylight coming through the roof
- Mould or a musty smell
- Condensation on the underside of the roof
- Wet or flattened insulation
- Signs of birds, squirrels or other pests
Ventilation: A roof needs airflow to prevent condensation. Check that vents and eaves are not blocked by insulation.
Insulation: Good loft insulation keeps heat in and reduces heating bills, but it must not block ventilation.
Step 9: Check Fascias, Soffits and Bargeboards
These boards protect the roof edge and the timbers behind them. Look for peeling paint, soft or rotten wood, cracks and gaps. Rotten fascias cannot hold gutters properly and let water reach the roof structure.
Step 10: Trim Overhanging Branches
Branches close to the roof can:
- Scrape and damage tiles in the wind
- Drop leaves into gutters
- Break off and fall onto the roof in storms
- Keep the roof damp and encourage moss
Trim back anything touching or hanging over the roof. Large trees should be handled by a qualified tree surgeon.
Special Considerations for Dorset Homes
Coastal properties
Salt air corrodes metal fixings, flashing and gutters faster than inland air. Check for rust, corroded fixings and weathered flashing, and inspect more often after storms.
Thatched roofs
Dorset has many thatched cottages. Thatch needs specialist care, including checking for moss, wire netting damage, ridge condition and thinning. Only use a thatcher for thatched roofs.
Stone slate and traditional roofs
Purbeck stone and other traditional coverings need experienced repair. Incorrect materials or methods can damage the roof and the character of the building.
Listed buildings and conservation areas
If your property is listed or in a conservation area, some roof work may need consent. Check with your local planning authority (Dorset Council or BCP Council, depending on your address) before starting work.
Flat roofs
Check for ponding water, cracks, blistering and split seams. Clear drains and outlets of leaves.
DIY or Professional Roofer For Your Winter Roof Inspection?
Need a Professinal Roof Inspection in Dorset?
Extreme Roofing Pro provides roof inspections, repairs and maintenance for Dorset homes. Contact us for a quote before winter sets in.
What Does Roof Preparation Cost?
Costs vary by roof size, type, access and condition. As a general guide:
- A roof inspection is often the cheapest step and can prevent far larger repairs.
- Minor repairs, such as replacing a few tiles or clearing gutters, usually cost a small fraction of a major repair.
- Major repairs, such as re-roofing after water damage, cost significantly more.
For an accurate figure, ask a roofer for a written quote after an inspection. Get at least two or three quotes for larger jobs.
Frequently asked questions