Knowing how to fit a Velux window starts with one honest fact: it looks simple from inside the room, and gets complicated the moment you open the roof. To fit a Velux window, you mark and cut the opening between the rafters, add support timbers (trimmers) if a rafter has to be cut, fix the frame with brackets, fit the underfelt collar and the flashing kit that matches your roof covering, re-lay the tiles or slates around the flashing, add the insulation and vapour barrier, then hang the sash and finish the internal lining. A single window usually takes a competent team around a day, and longer if a new structural opening is needed.
This guide walks you through the whole job, from planning rules and choosing the right size to fitting the frame, flashing and lining. It also explains when DIY makes sense and when it is safer to call a roofer.
How to Choose the Right Velux Window
Rafter spacing decides how big a window you can fit without cutting timber. Many older roofs have rafters at 400mm to 600mm centres, so a narrow window may sit neatly between two rafters, while a wider one needs a rafter cut and trimmed. Velux flashing kits are made for pitches from roughly 15 to 90 degrees, so measure your roof pitch before you buy.
The main window types are:
- Centre-pivot windows: the most common choice, which rotate around the middle and suit most loft rooms
- Top-hung windows: these swing out from the top and give more headroom at the window
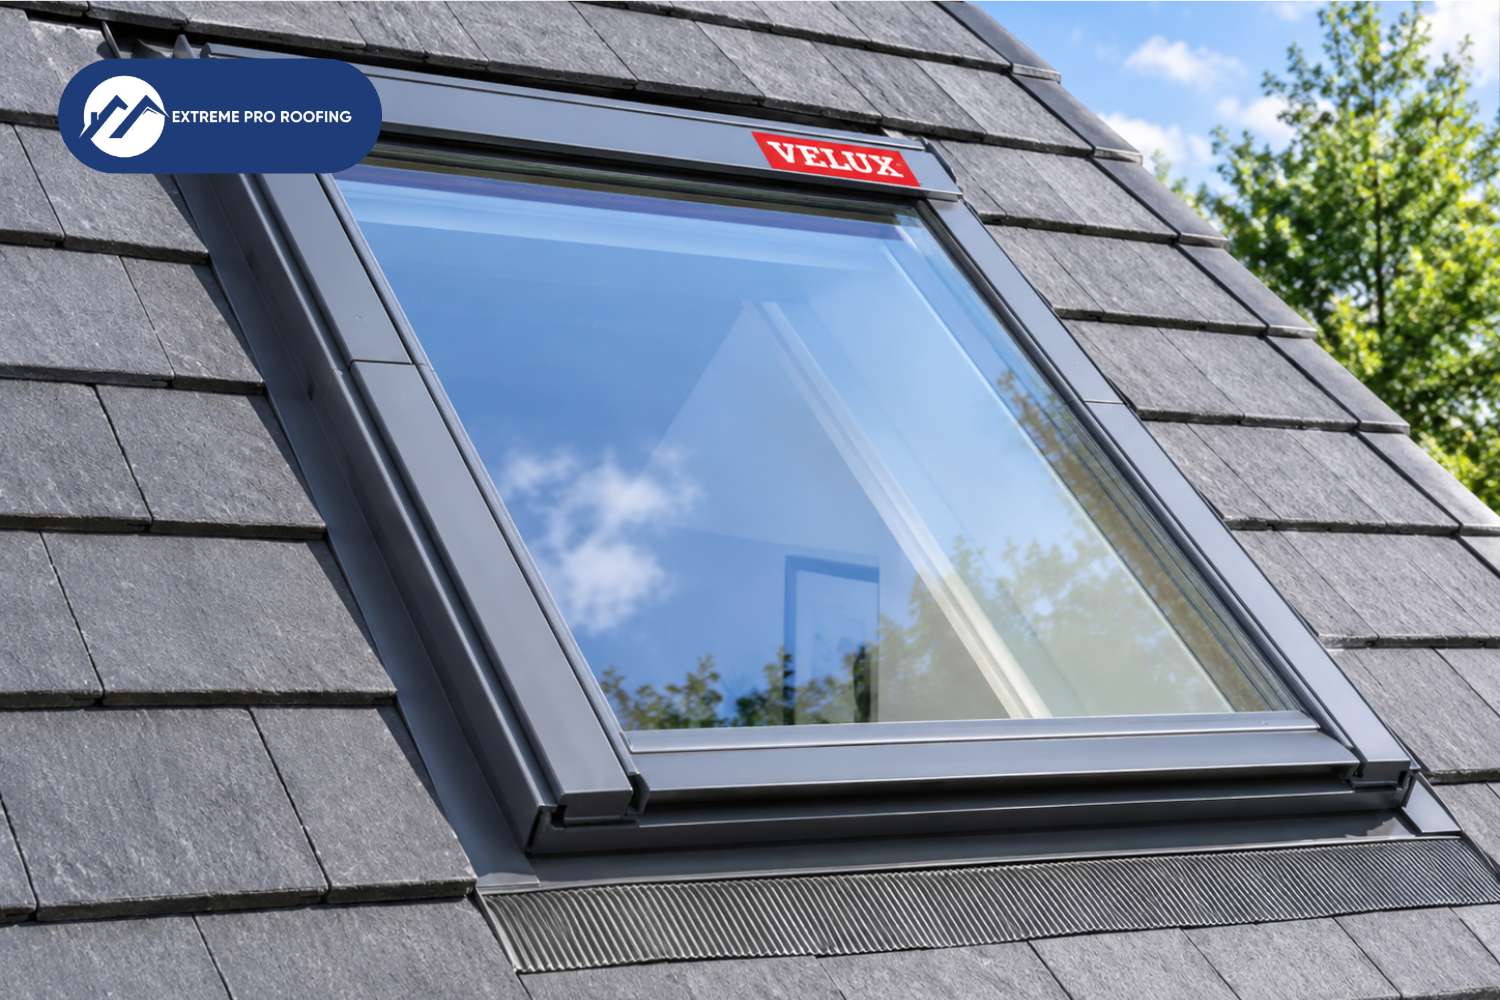
- Conservation windows: slim, flush-fitting units designed for period and listed homes
Many homeowners only compare the headline figure. It is better to compare what each quote actually includes. A cheaper quote that leaves out ridge work, lead flashing or disposal can end up costing more once the job starts.
What You Need Before You Start
Materials:
- Velux roof window and the matching flashing kit
- Insulation collar and vapour barrier collar for the window size
- Underfelt collar
- Timber for trimmers, the same depth as your rafters, if one has to be cut
- Battens, screws and spare tiles or slates
Tools and safety kit:
- Tape measure, spirit level and plumb line
- Saw, drill, hammer, staple gun and sharp knife
- Tile or slate lifter
- Gloves, safety glasses, a roof ladder and edge protection
- A tarpaulin to cover the opening if the weather turns
Pick a dry, calm day, and never leave the roof open overnight.
How to Fit a Velux Window: Step by Step
Step 1: Prepare the Window
Unbox the window and check that the kit includes all parts. Remove the sash from the frame to make the frame lighter and easier to handle on the roof. Keep the sash somewhere safe and clean.
Step 2: Mark and Measure the Opening
From inside the roof space, mark the position between the rafters. Push a screwdriver or drill a small pilot hole through at each corner so you can find the spot from outside. Check that the position is clear of chimneys, valleys and hips, then mark the opening size from the Velux instructions, leaving room for the flashing.
Step 3: Remove the Tiles or Slates
Working from outside, lift the tiles or slates in the area, leaving a margin around them for the flashing. Stack them carefully, because you will re-use them. Cut back the underlay, peel it away from the battens and fold it back out of the way.
Step 4: Cut and Support the Structure
If the window fits between two rafters, you may only need to fit support timbers across the top and bottom of the opening. If you need to cut a rafter, support the roof first, then fit doubled trimmers at the head and sill, fixed securely to the neighbouring rafters. If you are not certain what the structure needs, ask a structural engineer or building control. Never cut a rafter without proper support.
Step 5: Fit the Frame
Fix the mounting brackets to the frame, lift it into the opening and set it at the correct height for your roof covering. Check that it is level and square by measuring both diagonals, then screw the brackets to the rafters or trimmers as the instructions show.
Step 6: Fit the Underfelt Collar
The underfelt collar seals the roof underlay to the frame, so water running down the felt is guided around the window instead of under it. Fit it as shown in the kit instructions and make sure the underlay overlaps correctly.
Step 7: Fit the Flashing Kit
Fit the flashing from the bottom upwards: the lower apron first, then the side flashings, then the top flashing. Each piece should lap so that water always runs over the joints, never into them. Fix the pieces to the battens as directed and take care not to bend or crack the flashing.
Step 8: Re-lay the Tiles or Slates
Re-lay the roof covering around the flashing, cutting tiles or slates to fit with the smallest gaps possible. Maintain the correct overlap and replace any tiles or slates that are cracked or chipped. This is the stage where most leaks are made or avoided.
Step 9: Insulate and Fit the Vapour Barrier
From inside, fit the insulation collar and pack mineral wool around the frame so the roof insulation carries on without gaps. Then seal the vapour barrier collar to the frame and to the ceiling vapour control layer with tape. This stops warm, moist air reaching cold timber and causing condensation.
Step 10: Hang the Sash, Fit the Lining and Test
Hang the sash back on the frame, fit the internal lining and finish the plasterboard reveal. Open and close the window several times and check that it seals evenly. Where possible, run a hose over the flashing from the bottom upwards while someone checks inside for drips. Check again after the first heavy rain.
Common Mistakes When Fitting a Velux Window
- Wrong flashing kit: the kit must match your roof covering and tile thickness
- Cutting rafters without trimmers: this weakens the roof
- Poorly lapped flashing: water is allowed in at the joints
- Gaps in the insulation or vapour barrier: these cause cold spots and condensation
- Fitting the window too close to a chimney, valley or hip: this makes weatherproofing harder
- Working in poor weather: an open roof and a sudden shower is an expensive combination
- Skipping the rules: unsigned work can cause problems when you sell the property
Do You Need Planning Permission or Building Regulations Approval?
Planning permission
In the UK, fitting a roof window is usually permitted development, so you do not normally need to apply for planning permission. The Planning Portal sets the main limits:
- the window must not protrude more than 150mm beyond the plane of the roof slope
- it must not sit higher than the highest part of the roof
- On a side-facing roof slope, it must be obscure glazed, and either non-opening or have openable parts more than 1.7 metres above the floor
These rights work differently for flats, listed buildings and homes under an Article 4 direction, and conservation areas often add extra rules. Check with your local council before you order anything.
Building Regulations
Building Regulations are a separate matter. A new roof window must meet thermal efficiency standards (Part L). If it serves a loft room used as a bedroom, it may also need to work as an escape window (Part B). An escape window needs an unobstructed openable area of at least 0.33 square metres, with no side shorter than 450mm, and the bottom of the opening no more than 1100mm above the floor. Glass close to floor level may also need to be safety glazing.
An installer registered with a competent person scheme, such as FENSA or CERTASS, can self-certify the work. Otherwise, you will need to notify building control. Rules change, so confirm the current requirements before you start.
Why Hire a Professional for Velux Window Installation?
It can be a DIY job, but only if you are confident working at height, comfortable with basic carpentry and happy to strip part of your roof covering. Replacing an old window with one of the same size is far easier than cutting a new opening. A new opening means cutting into rafters, which carry the roof’s weight, so you must rebuild the timbers around the hole properly.
In our experience on Dorset roofs, problems rarely come from the window itself. They come from poorly lapped flashing, gaps in the insulation, or an opening cut in the wrong place. Those faults often show up months later as a damp patch on the ceiling.
You should think about calling a roofer if:
- you are cutting a new opening rather than replacing an existing window
- the roof is steep or high, or the tiles and slates are fragile
- a rafter has to be cut, or the window sits close to a chimney, valley or hip
- You do not have safe access, such as a scaffold tower or roof ladder
- The window is part of a loft conversion that needs building control sign-off
If you would rather leave it to the experts, Extreme Roofing Pro Contractors Ltd fits, replaces, and repairs Velux windows across Dorset, including Bournemouth, Southampton, and Salisbury. Our Velux window installation service covers the full job, from the first measurement to the final seal, including flashing, blinds and the roof around the window. We aim to finish in one visit so you can get your room back in use quickly.
You get a free survey and a clear written price before we start any work. We are fully insured, never use subcontractors, and hold a 9.83/10 rating from 86 verified Checkatrade reviews. You pay nothing until the work is complete and you are happy.
Frequently asked questions